Last month I promised April Heding from the very fine organization
Guildess, in Milwaukee, that I would put a collograph printmaking demonstration online for her, since she was unable to attend the one I had planned at the Riverwest Artists' Association. Unfortunately plans often go awry, and there was a motorcycle show blocking off Center Street in Milwaukee, and many other streets around it during the time I had scheduled the workshop. So maybe this was meant to live online after all.
Let me first say that I have worked through this process, collograph printing without a press, all year long. I finished the majority of my thesis work (4,000 individual prints) on the floor of my spare room/studio. I also used this workshop at least seven times in approximately five Baltimore City communities throughout the year. Many of those times the workshops were outside on the street, facilitated with youth and adults in mind, so I'm
positive that if you follow these instructions you will make something awesome.
Collograph basically means "glue drawing" and this is an easy way to understand the concept if it's a foreign one. If you think of the plate as if it were a landscape, the things that get printed are the highest areas, such as mountains. The portions that will not get ink are your valleys. Depending on how steep the mountain, parts of the valley may or may not show. Remember that you can always adjust your plate after printing (just rip off the offending piece, re-do and reapply the medium), or you can start over, because the materials I am suggesting are inexpensive or even free. Let's start!
To create your plate you will need these things...
Cardboard. For this plate, I used recycled, corrugated cardboard. Cut the cardboard out in the shape you want your plate to be. You could make this any shape you want.
You will also need glue, acrylic medium, scissors and an old paintbrush.
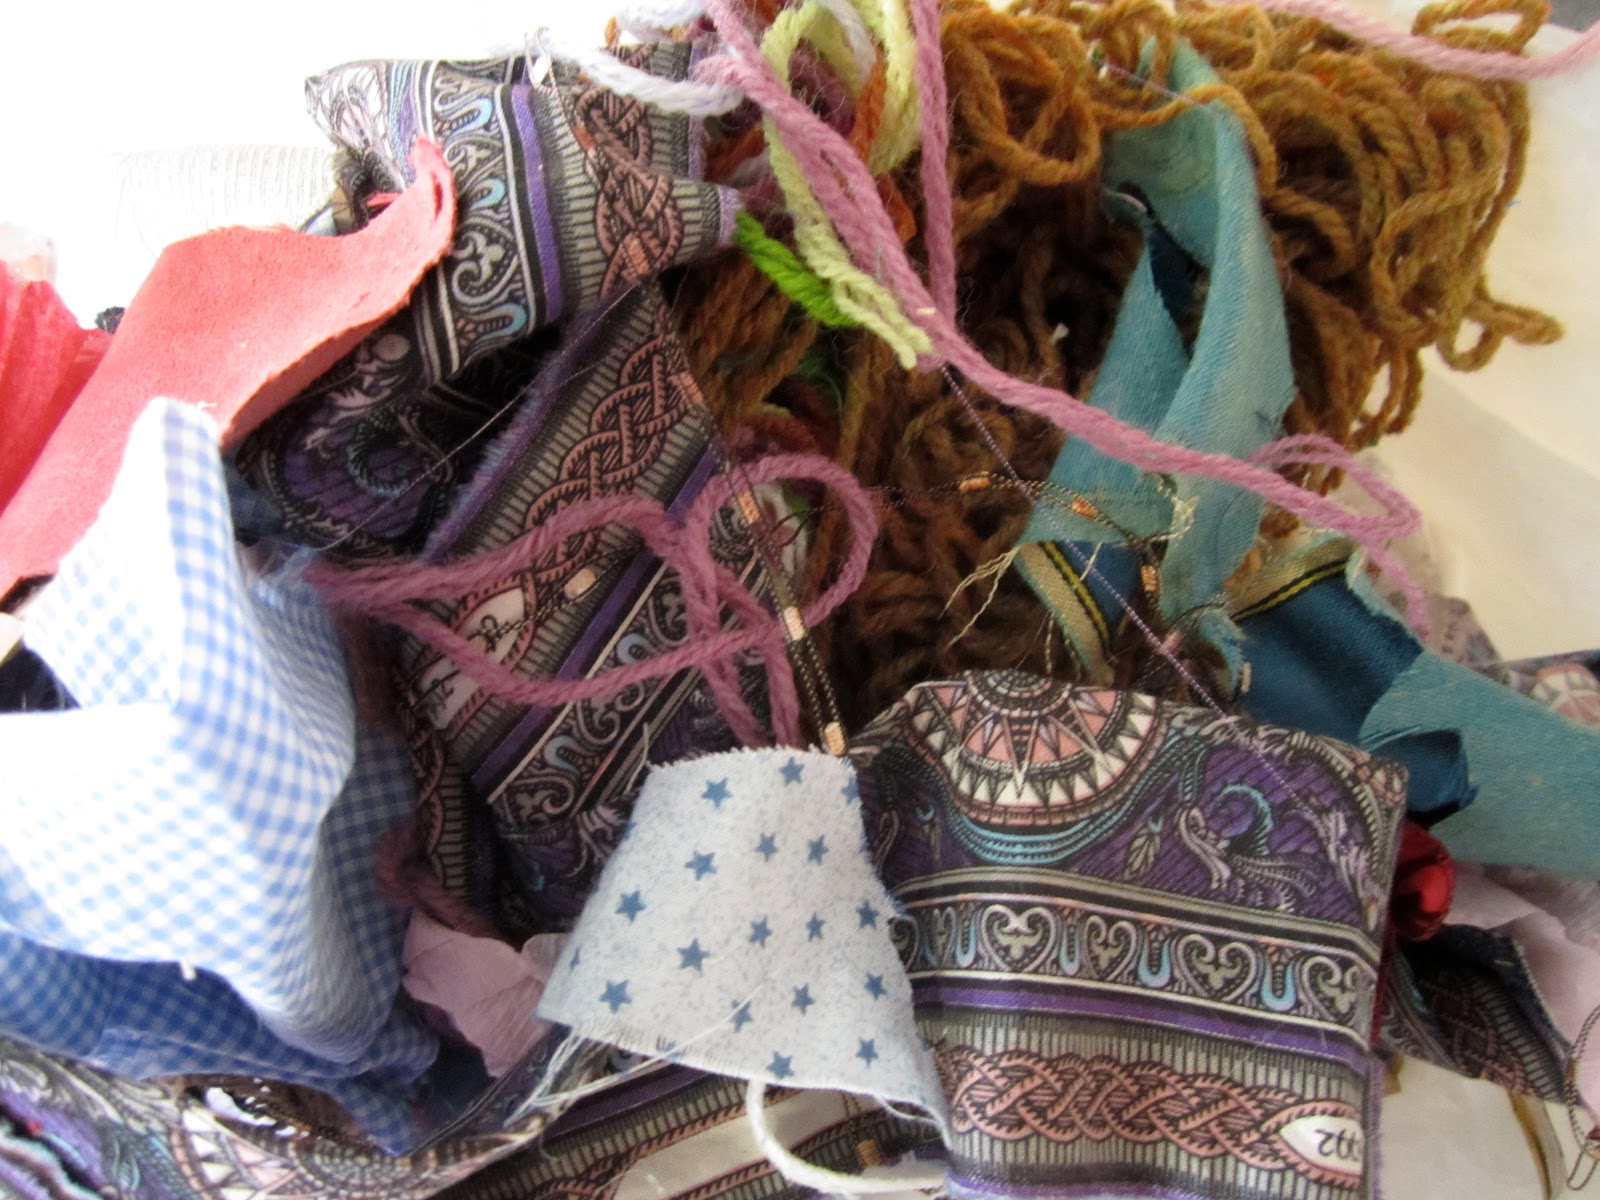
Here is the fun part, fabric or anything that has a nice texture, but is still relatively thin. Beyond just fabric I have used the plastic woven bags that veggies sometimes come in, yarn, different types of paper, glitter glue, sandpaper and more. You can use your imagination here and use whatever you think has the ultimate texture you want. Really play with this part of the process and feel your environment instead of looking at it. You will find that everything that you need is probably already living around you.
I chose to use a rectangle as my plate shape, because I am going to make an image of a row house. Here I am starting to apply pieces of thin, textured fabrics to create windows and doors for my habitat. For this, I am making everything as flat as possible, because everything that is on the plate, textured or not, shows up nicely if its thickness is even, throughout the surface area.
I have finished gluing my fabric onto the plate and have let it dry for a bit. Now I will use an old paintbrush to apply acrylic medium (or rhoplex) to the whole plate, front and back. Try to really get the medium into every crack, push/force it in there! Then smooth out the coat of medium as much as possible (with this method the cardboard will show up as a nice, solid, dark tone). Let the plate dry completely. You can speed this up with a hairdryer if you need to.
Apply at least two thin coats on the front of the plate, letting each dry thoroughly before any additional applications.
Okay, so now your finished collograph plate is dry and we are ready for printing! Here's what you'll need for this part:
- palette (I used a piece of thin plastic), and then taped down the edges.
- block printing ink (approx. $5 per tube at the art store)
- brayer (approx. $5- $10, depending on the width, at the art store)
- palette knife (or a plastic knife would work)
- phone book or something else heavy that you can step on
- clean, old towels or washcloths
- bucket for submerging your paper in water OR a spray bottle filled with water, like you see here
- You will also need paper to print your image on. You could use any kind of paper, colored or white, or black. If you want this to be a "bleed print" you will cut your paper to be slightly smaller than the size of the plate. A bleed print would not give you any plain/solid boarders around the image. We will be using a surface roll-up method for inking our plates.
Start by wetting the paper on both sides, very thoroughly. You want the paper to still be damp when you print. If you have to re-wet it, that's perfectly fine. But wet the paper in some fashion, either by bucket or spritzer.
Blot the paper evenly, and then leave it inside your official blotting towel. It is a good idea to designate one towel for this job, so that it doesn't get ink all over it, and conversely, your clean paper.
Add your ink to the palette (which you have already taped down). A quarter-sized blob will create about three prints. I don't have a photo of this next step, but you'll want to take your palette knife (a plastic butter knife would work too!) and make the blob of ink into a line or trough. It is much easier to roll up the ink evenly from something more flat, rather than blobby.

In order to get an even coating, you will take/lift a bit of the ink from the trough with your brayer/roller. Pick up the ink and then lift the brayer up to start rolling from a position nearest your body. You'll want to roll the ink outward, or away from yourself, lifting up the brayer each time you complete a roll. In other words, do not roll back and forth. Once you have lifted the brayer and it is airborne, place the brayer back down where you started. Repeat this and roll the brayer at different angles until the ink is coating the brayer evenly and thinly. When you are rolling, if you are doing it correctly, you will hear the sound of tires on wet pavement. If the amount of ink that you grabbed is too much/too thick it will not make this slick sound, and so you'll know that you have too much ink on the brayer (to fix this if it occurs, roll some of the ink off onto your phone book/scrap paper, and then take it back to the palette).
Now we're rollin'! (pun intended)
Okay, so you'll need to ink up your plate now. Placing the plate on the unused portion of your palette is a good idea. Failing that, you can do it on a phone book/scrap paper. Make sure to get a good even coat on here, rolling away from you, in all different directions and angles, turning the plate if you need to. You may have to "recharge" or reload the brayer, depending on the size of your plate.
We're almost there! Your plate should be fully inked, and look a little something like this ^. Now we will start the layering process (incidentally, if your paper has dried, now is a good time to quickly re-wet and blot it).
Place a sheet of phone book/scrap paper down first.
Your plate goes "butter-side-up" on top of the scrap paper! (ink facing up)
ETA: Now, go wash or wipe your hands before you handle the paper!
Next, place the damp paper down in one go (normally I would use both hands, but am holding the camera in one, so you see my dilemma). What does this mean? Use both hands to hold the paper, and hover it slightly above the plate in order to center it, then drop it. Basically, you are trying not to smudge the paper before you make the actual print.
Clean, old towel number two comes into play here. Gingerly place it here, on top of the paper.
Now it's phone book time. As you can see, my inky hands have been all over this one for the past year. It has served me well, and in many different ways. Place the phone book or something else that's heavy on top of clean old towel number two.
Step on it, literally. Use your own body weight to press the plate into your paper.
You are almost finished! Start taking apart your layers. As you can see, a slight embossing will happen, but that will work itself back out during drying time.
Peel back the paper from the print slowly....
OMG look at that nice collograph print! Hopefully yours turned out just as snazzy. But if you don't happen to like it, you can always reprint it, right away. Please note that the prints are always better the second time, it's why printmakers create a "proof" before any official printmaking is done on good paper. It's a nice way to gauge whether or not they are inking it the way they want, or if they need more ink etc. You can also block out portions of your plate by simply placing a shape (i.e. another piece of paper) on top of the inked plate, in between that and the paper you will print on.
Allow your print to dry thoroughly, and then press the paper again, lightly. You can use the phone book for this as well. They are multi-purpose!
Well, that's it from me, happy printing, y'all!